


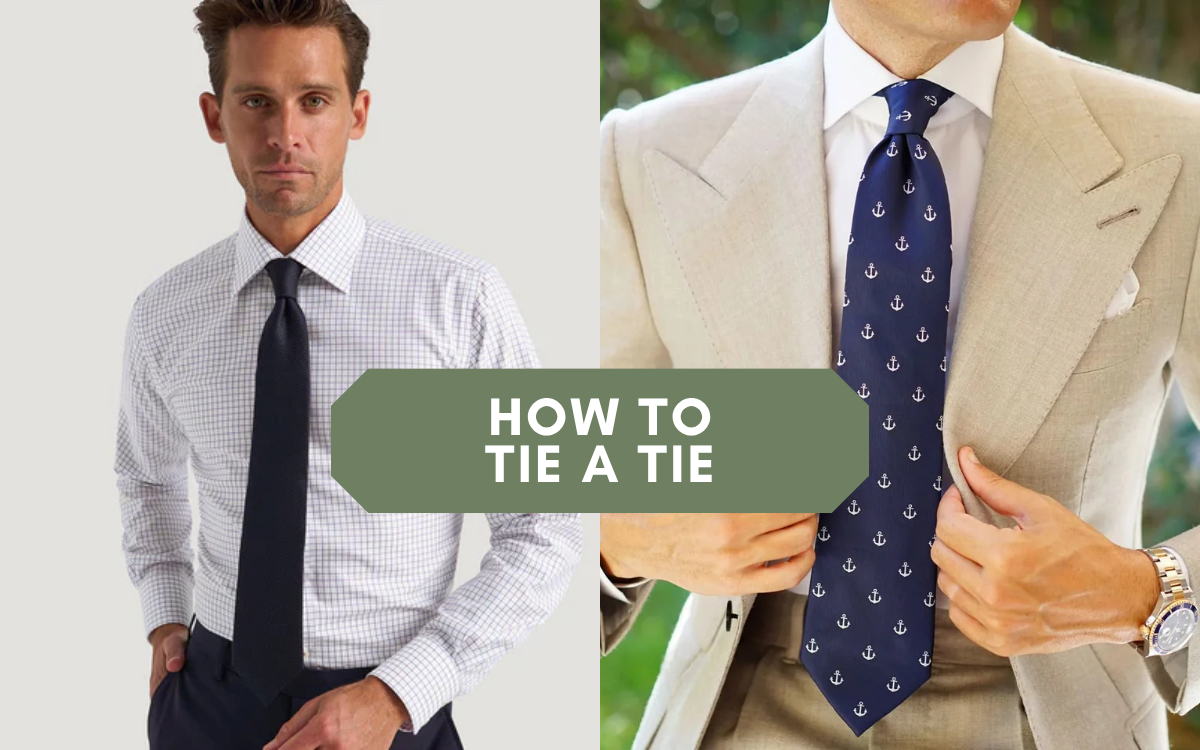
There are three tie knots worth knowing well: the Four-in-Hand for an easy, everyday knot, the Half-Windsor for a neat, symmetrical knot that suits most collars, and the Full Windsor for a bold, wide knot for spread collars and formal occasions. Below is a step-by-step guide to all three, plus which tie works best with each.
It's one of the most common questions we get asked in store, especially from guys getting ready for a wedding, a job interview or their first proper suit: how do you actually tie a tie? There's no single right answer, it depends on your collar, the occasion and the tie itself, which is why we've broken down the three knots you'll use for almost everything, from a Monday morning meeting to a black tie wedding.
Which Tie Knot Should You Use?
It comes down to your collar and the occasion. Key facts:
- Four-in-Hand: the simplest knot, slightly asymmetrical, and the one most guys learn first. Suits narrow and button-down collars.
- Half-Windsor: neater and more symmetrical than the Four-in-Hand, without the bulk of a Full Windsor. A safe everyday choice for work and interviews.
- Full Windsor: a wide, triangular knot for spread collars, weddings and black tie. It uses more fabric, so you'll need extra length to start.
| Knot | Best for | Collar type |
|---|---|---|
| Four-in-Hand | Everyday wear, first-time tie-tiers, patterned ties | Narrow, button-down |
| Half-Windsor | Work, interviews, most tie widths | Semi-spread |
| Full Windsor | Weddings, black tie, formal events | Wide spread |
Still not sure which collar you're working with? Drop into one of our stores and one of our team can talk you through it in person, along with the rest of your formalwear for the day.
How to Tie a Four-in-Hand Knot (Step by Step)
The Four-in-Hand is the easiest knot to tie and the most forgiving if you're just starting out. Quick breakdown:

- Start with the wide end on the right, hanging about 30cm lower than the narrow end.
- Cross the wide end over the narrow end to the left.
- Bring the wide end back underneath, then across the front again to the right.
- Bring the wide end up and feed it through the neck loop from behind.
- Hold the loop that's formed at the front, then pass the wide end down through it.
- Tighten gently and slide the knot up until it sits snugly against your collar.
Because it only wraps once, the Four-in-Hand naturally sits slightly off-centre, which is part of its charm rather than a mistake. It's a good match for a patterned or slim tie where you don't want a bulky knot competing with the print.
How to Tie a Half-Windsor Knot (Step by Step)
The Half-Windsor gives you a neater, more symmetrical triangle than the Four-in-Hand, without the bulk of a Full Windsor. Quick breakdown:

The seven steps of a Half-Windsor knot, a reliable everyday choice for work and interviews.
- Start with the wide end on the right, hanging about 30cm lower than the narrow end.
- Cross the wide end over the narrow end, then bring it back underneath to the right.
- Bring the wide end up through the neck loop from behind, then pull it down to the left.
- Cross the wide end over the front to the right.
- Bring the wide end up through the neck loop a second time, from behind.
- Feed the wide end down through the loop at the front.
- Tighten evenly and slide the knot up to your collar, adjusting until it sits straight.
This is the knot we'd point most guys towards if they only want to learn one. It suits nearly every collar in a standard shirt range and works with almost any tie width.
How to Tie a Full Windsor Knot (Step by Step)
The Full Windsor is the widest, most formal knot of the three, and the one to reach for on your biggest occasions. Quick breakdown:

The eight steps of a Full Windsor knot, best saved for weddings and black tie.
- Start with the wide end on the right, hanging about 35cm lower than the narrow end, this knot needs extra length.
- Cross the wide end over the narrow end, bring it up through the neck loop from behind, and pull down to the left.
- Pass the wide end behind the narrow end, moving to the right.
- Bring the wide end up through the neck loop again from behind, then pull down through the centre.
- Take the wide end across the front to the left.
- Bring the wide end up through the neck loop one more time, from behind.
- Feed the wide end down through the knot at the front.
- Tighten evenly with both hands, sliding the knot up and adjusting until it sits symmetrical and centred.
Because it wraps around the neck loop twice, the Full Windsor eats up more tie than the other two knots. If you're working with a shorter tie, size up in length or stick to a Half-Windsor instead, better a knot that sits at the right length than a Full Windsor that finishes above your belt buckle.
Which Tie Suits Which Knot?
The tie itself matters as much as the knot. Thicker fabric and wider blades bulk up fast, so the knot you choose should work with what you're wearing, not against it. Key facts:
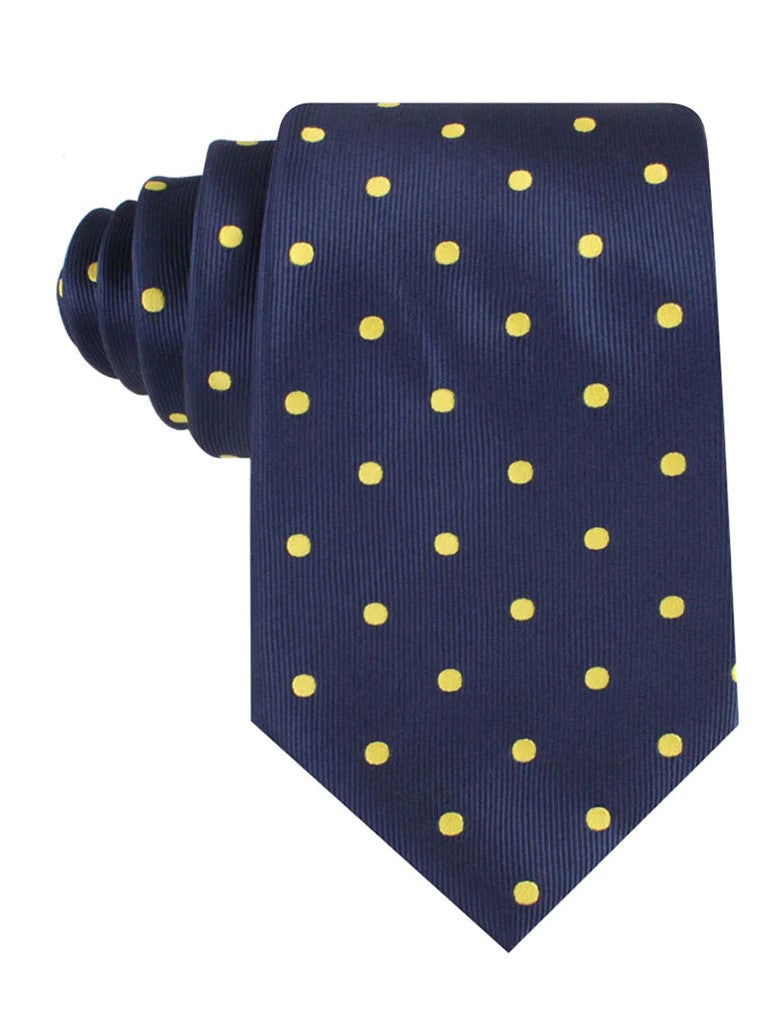
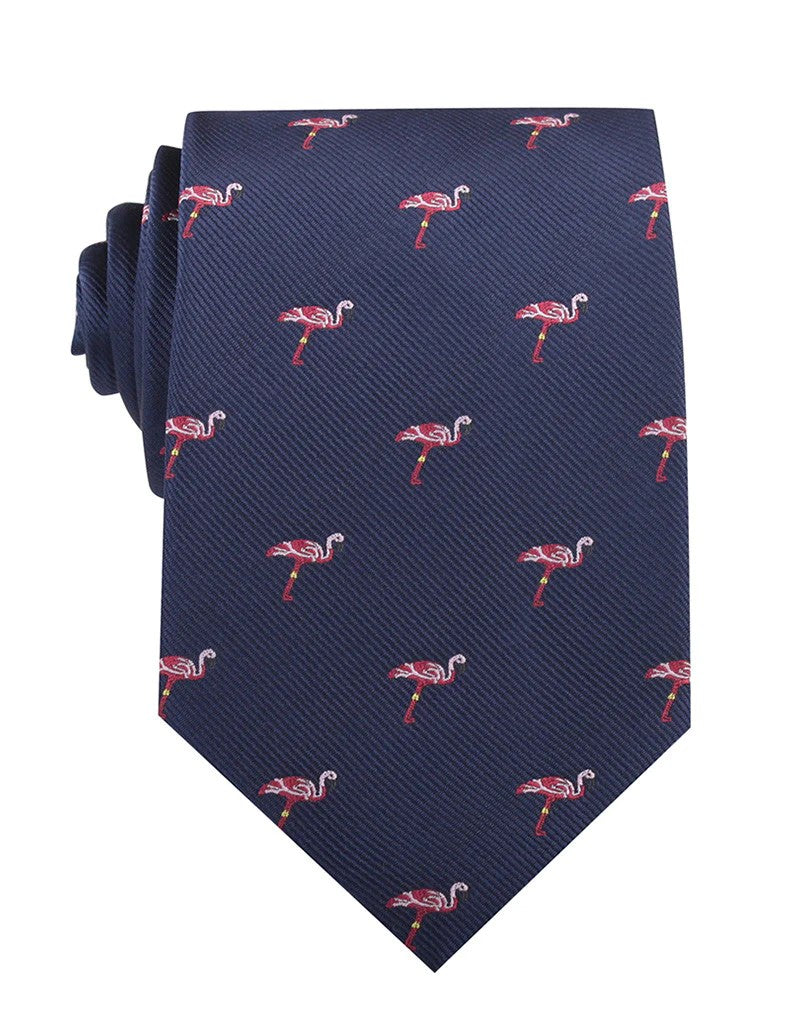
- Playful, patterned ties like OTAA's Nailhead Polka Dot or Flamingo designs work best with a Four-in-Hand or Half-Windsor, so the print stays the focus rather than a heavy knot.
- Textured silk and linen blends like M.J. Bale's Pembroke tie sit nicely in a Half-Windsor, neat enough for the office, relaxed enough for a long lunch.
- Classic 100% silk ties like M.J. Bale's Emmett tie carry a Full Windsor well, the extra fabric and sheen suit the occasion a Full Windsor is usually saved for.
Common Tie-Tying Questions
What's the easiest tie knot to learn?
The Four-in-Hand. It only needs one wrap around the neck loop, so there's less to get wrong, and it works with almost any collar or tie width.
Which knot works best with a button-down or narrow collar?
The Four-in-Hand or a Half-Windsor. A Full Windsor is quite wide and can look oversized on a narrow or button-down collar, so it's best saved for a spread collar.
How long should a tie be once it's tied?
The tip should just reach the middle of your belt buckle. A Full Windsor uses more fabric than a Four-in-Hand, so the same tie will finish shorter in a Full Windsor, adjust your starting length or pick a different knot if it's sitting too high or low.
Still getting a strange result? Give us a call, or bring the tie and shirt in together and we'll tie it with you in store.
Shop the Ties
The four ties featured in this guide, from playful prints to classic silk.


Win the Ultimate Barossa Escape for two
For nine decades Blowes has stood for quality, service and enduring style, built on the support of our community. To celebrate, we're giving away a luxury Barossa Valley escape for two, including premium accommodation, a dining experience, an R.M.Williams factory tour, a pair of boots each, plus store credit. This celebration is for you. Thank you for being part of our story.
- 2 nights luxury accommodation at The Louise, Barossa Valley, with daily à la carte breakfast and complimentary mini bar
- Sunset drinks and canapes, plus a 4-course dining experience with paired wines each evening
- Return economy flights from any Australian capital city to Adelaide, plus airport transfers
- A guided R.M.Williams factory tour for two, plus 2 pairs of R.M.Williams boots each
- Blowes Clothing in-store credit
- Must be a Blowes Plus loyalty member. Not a member yet? Join in-store or online in a few easy steps.
- Spend in a single transaction to receive 1 entry. Earn 1 additional entry for every further spent, with no limit.
- Entries are valid on in-store and online purchases (eBay excluded).